Multimedia Modular Patch Panel: Mix and Match Fiber & Copper

Sometimes one cannot have his household products all fiber-related, and there are always some copper cables or jackets remained by generations. In such cases, people have to buy at least 2 patch panels of different kinds. In order to satisfy various needs in cable management, the multimedia modular patch panel comes into being. How this little device helps and works?

What Is Multimedia Modular Patch Panel?

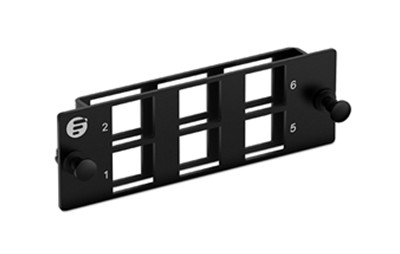
First and foremost, we have to figure out what a modular patch panel is. The fist glance at it we may find 6 ports on it. They are used to accommodate adapters and jacks, suited for Cat6a/6/5e/5 Ethernet cables and LC/SC/MTP fiber patch cables. The FS.COM modular patch panels accept all modules in copper and fiber which snap in and out for easy moves, adds, and changes, offering exceptional versatility and robustness to your system.

6 port multimedia modular patch panel

Why Should We Use Multimedia Modular Patch Panels?

Because they let you support legacy, current and emerging applications; they provide an easy upgrade path without requiring excessive recabling or changes in hardware; you can wire a single outlet for different applications; and you can often use standard and proprietary inserts, if necessary. The first patch of purchasers have posted feedbacks that it is worthy of trying. It is easily fit to your existed FHD 1RU rack mount enclosure and 1U metal cable management panel.

How to Use The Multimedia Modular Patch Panel

When we get a multimedia modular patch panel like the type shown above, we need to prepare at least 6 specially designed plastic clips (FS.COM provides them freely) to hold various fiber optic adapter on the panel. Insert the fiber optic adapter into the clip, then snap the clip on the adapter panel. A fiber optic interface is easily installed. The attached plastic clips offered by FS.COM fit a variety of fiber optic adapters, such as LC OM3 adapter, MTP/MPO adapter and LC OS2 adapter. In addition, copper unshielded keystone modules can be directly installed onto the panel. When the modular patch panel is completely loaded, we can apply it to a 1U fiber enclosure. And plug the copper and fiber cable into copper and fiber adapter respectively.

To provide you with a more authentic experience, we have produced a short video for your reference.

Conclusion

It is really a cost-effective invention that it not only saves the cabinet space, but also spares you the additional expense for another kind of patch panel. With flexible and modular design, multimedia modular panel enables optimum use of rack space. It can be installed quickly into the front of FS.COM FHD rack/wall mount fiber enclosure. Together with our horizontal cable manager, it makes your rack neat and fresh when deploying fiber and copper aggregated link. Whether you are looking for a modular panel with reasonable price or a device enabling better cable management, FS.COM 6 port blank multimedia panel is a good choice.

How to Connect Patch Panel to Switch?

Some people say that patch panel is a waste, and only a network switch matters. Others, however, hold firmly that patch panel is a significant gadget without which you can hardly imagine how the network cabling will look like. As far as I am concerned, we should view it accordingly.

Why We Should Use Patch Panel?

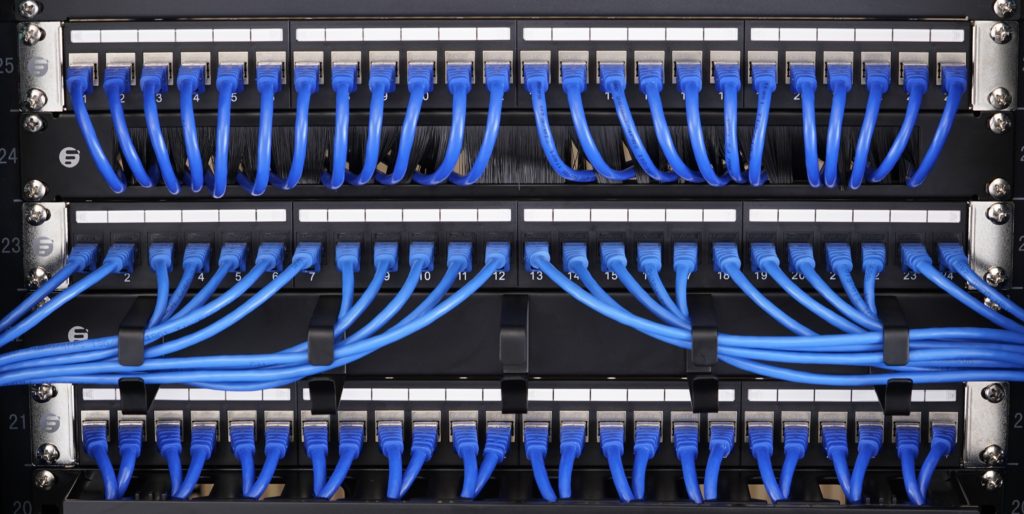
Apart from the easier cable management it provides, its function resembles the railroad switch. And let’s compare the cables to rails to see how it works. With a railroad switch(patch panel), the train(data) can travel from A to B, C and even more destinations, otherwise it can only go from A to B, or C to D. This article, What Is a Patch Panel Used for?, has explained it thoroughly. In addition, FS.COM offers extensive selection of patch panels.

patch panel

How to Connect Patch Panel to Switch?

Having made clear of the function of patch panel and the switch, let’s see together how do they connect in the network cabling in case of mistakes in the layout process. Assume that we have a two 24 port feed through patch panels and two 24 port switch, and all the devices mentioned below. We don’t take the punch down panel here is because it has to be punched down first then to connect the cabling system. If you use a punch down patch panel, the methods and procedures to punch down it have been listed in my previous article—How to Punch Down Cat6 into Patch Panel.

  • Step 1

Find a cabinet large enough to accommodate both the patch panel and switch. And mount the 24 port patch panels and switches all in the same rack. The order from the top to the bottom is like this, patch panel 1, spacer, switch 1, patch panel 2, spacer and switch 2.And prepare the cables in a proper length.

  • Step 2

Prepare the cable in a proper length to avoid the mess.

  • Step 3

Use the top 12 ports on the patch panel for the bottom 12 ports on the switch, and the bottom 12 on the patch panel for the top 12 ports on the switch. The one set of patch cables would be just a bit shorter than the other 12.

  • Step 4

Connect the modulars on the rear side of the patch panel with the cables that go to each unit or room.

OK, congratulation. Now you have a very neat and beautiful cabling system. When powering on, the whole system will work orderly in their own places.

Conclusion

All in all, a patch panel is more of an extension of your Ethernet cables. It’s used for the purpose of neatness and the achievement of data crossover. A switch connects your devices into a network allowing them to communicate and share files with each other. To help you better understand the ways to connect the two, we are planning to produce a video to illustrate the steps in details. You can refer to FS.COM for more information and follow us for the further knowledge.

Patch Panel Recommendations

As a patch panel offers people easy cable management, it has been widely acknowledged by more and more users and expertise. When choosing a patch panel, a lot of factors can be considered, like types and designs. I would like to recommend you patch panels from there perspectives, that is, cabling system, port density, and space saving.

Cabling System of Patch Panel

As we all know, the patch panel used in fiber cabling system is called fiber patch panel and the one used in copper cabling systems named copper patch panel. As far as I am concerned, the fiber patch panel deserves the higher price since it is a lot easier to install. However, copper patch panel can also be your first choice as it is cost-efficient and durable, like the Cat6 patch panel introduced in the next part.

1U High 19″ fiber patch panel is easy to install for better deployment and expand your network for interconnection and cross-connection inside the rack mount and cabinet. It has 24 ports and is available with two adapter types: SC and LC duplex.

Specially designed for Gigabit Ethernet applications, Cat6 Ethernet patch panel meets and even exceeds the TIA/EIA 568 industry specification, and are compatible with all kinds of Cat6 cables and related accessories. Besides, Cat6 patch panels feature high-density and offer the performance required for present and next generation data communications networks and applications.

fiber patch panel

Port Density of Patch Panel

Port density seems to be a main concern when choosing a patch panel. The patch panel with more ports enables more connectivity. Common patch panels are always designed in 8 or 12-port configurations. While high-density patch panels are available in flat and angled designs with 24 or 48 ports configurations. High-density patch panel is suitable for installations with limited space.

Take the Cat6 Ethernet patch panels we mentioned above as an example, as high-density patch panels, they are available in 12-port, 24-port, 48-port configurations, and feature enhanced front and rear labeling mark for easy circuit identification. In addition, the cat6 patch panel provided by FS.COM contains user-friendly number coding and removable rear cable manager which is conducive to uninstall and install.

Cat.6 patch panel

Space Saved by Patch Panel

In general, I, myself, prefer wall mount patch panel to rack mount patch panel, because it is installed above the floor, sparing much space for other equipment standing on the ground.

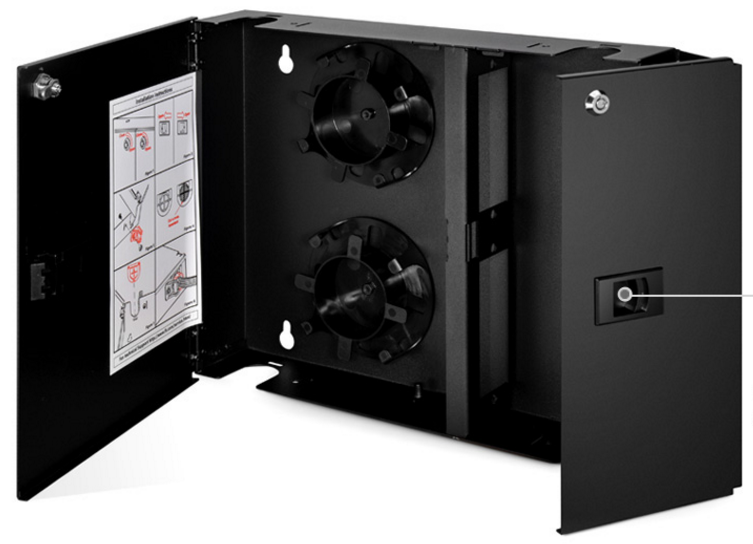
Wall mount patch panel provided by FS.COM possesses number labeling for easy outlet identification, and is used to provide the critical connection between various fiber cables and optical equipment fixed on the customer’s house or office, offering networking and fiber distribution from the wiring closet to the user’s terminal equipment. Furthermore, it can be fixed quickly and easily to the wall using four screws.

wall mount patch panel

Conclusion

Hope you have saved a lot of time and energy by checking out the list we have above. However, another aspect not mentioned is the budget, as many people would struck in a dilemma that whether to choose a patch panel only for now or the expensive one for future. Considering this, you can first choose what function and performance you actually need, then compare the price of the same type of patch panel between different vendors. Here I can assure you that FS.COM can provide you with best quality and reasonable price. If you have puzzles, please do not hesitate to contact us.

Multiple Applications of 1U Detachable Horizontal Cable Management Patch Panel

Good cable management is essential to keep the fiber cables in acceptable condition and ensuring transmission performance with high-density cabling. A 1U detachable horizontal patch panel is an amazing part in cable management due to its multiple choices for application. This article will introduce the structure of a 1U detachable horizontal cable management patch panel and its diverse applications in network installation.

Structure of the 1U Detachable Horizontal Cable Management Patch Panel

This 1U detachable horizontal cable management panel consists of four parts that are held together by screws and can be removed by tools. They are illustrated in the following figure, including horizontal laser bar, horizontal laser panel, D-rings and 1U patch panel.

Structure of Detachable Cable Management Patch Panel

Multiple Choices of the Detachable Horizontal Cable Management Patch Panel

This 1U detachable horizontal cable management patch panel can be used to manage cables for different active or passive network devices because they can be assembled randomly to meet your needs. Here are four application examples of this detachable cable management patch panel.

It is a good choice for holding different types of adapter patch panels. As a whole, this detachable cable management patch panel can be used with LC adapter panel. Here it is used with four fiber adapter panels with 12 LC duplex single-mode adapters. Besides, taking off part 4, it can also be used with a 12/24-port adapter in 1U patch panel form.

1U adapter panel is used with LC adapter panel

Combining part 2, 3 and 4 mentioned above, it can be used with MTP/MPO adapter panel. Here it is used for four 8 MTP adapter panel. It should be noted that for each MTP/MPO adapter, 8-fiber MTP/MPO connector is also suited to be linked with 12-fiber MTP/MPO connector when only 8 fibers are used in the 12-fiber MTP/MPO (such as in 40G network).

1U detachable panel is used with MTP adapter panel

By using only part 2 and part 3, cable management for a 1U rack mount fiber enclosure is perfectly achieved.

1U detachable patch panel is used with fiber enclosure

The combination in the last example can also be used to manage cables coming from 1U WDM Mux/Demux or switch. In the following figure, on the top this detachable patch panel is used with a 18 channels CWDM Mux/Demux and at the bottom it is used with a switch.

1U detachable panel is used with CWDM Mux/Demux and switch

Conclusion

From the application examples presented above, we can see that this 1U detachable horizontal cable management patch panel is very capable in different cabling situations. You may notice that cable ties are also used to help organize the cables placing inside the D-rings. If you interested in this multifunctional assembly, you can find it on our site (FS.COM). You can also find many other helpful cable management assemblies for managing efficiently high-density structured cabling in your data centers and telecommunication rooms.

The following table displays some details of several cable management devices provided by us They are all in stock at Seattle warehouse and are available for same-day shipping.

Picture Description
cable management-1 1U Detachable Horizontal Panel with D-ring & Lacing Bar
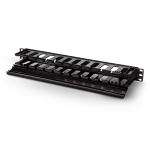
cable management-2 1U Plastic Single-side Horizontal Cable Management Panel with Finger Duct
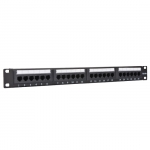
cable management-3 24 Ports UTP Cat5e 110 Punch Down 1U 19” Fast Ethernet Patch Panel
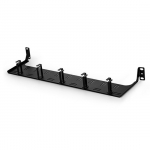
cable management-4 1U Metal Horizontal Lacer Panel with D-rings

How to connect devices together with a patch panel?

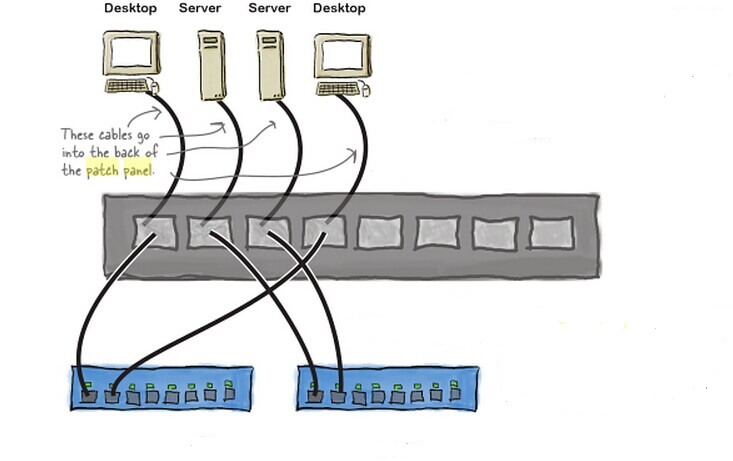
Several days ago I observed some comments by my reader, many individuals mentioned that my blog is too difficult to understand. Well, today’s blog article would use simple words and comic picture to tell you some about Fibre optic patch panel. In a simple word, a patch panel works like a telephone switchboard, but for cables so as to achieve better cable management. But how to connect fiber optic cables or other devices to patch panels?

patch panels

How TO Connect Fiber Optic Cables to Patch  Panels?

1. A cable leading from each network device is wired into the back of the patch panel. Network devices can include network switch, wall jacks, computers, hubs and so on.

2. Short patch cables at the front of the patch panel control how devices are connected. The patch cables at the front of the patch panel connect the devices to switches or other patch panels.

3. To change the connection, simply change which socket the patch cable goes into.

If you are using a patch panel (such as Leviton 24 port patch panel), this means it’s easier to alter the bond in between products. Just about all you must do is actually alter that outlet the actual area solar panel provides you with a simpler user interface with regard to controlling cable connections.

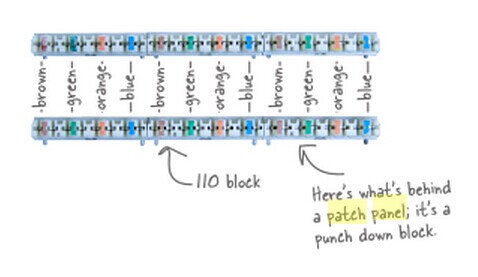
Let’s look in more details at what goes on behind the patch panel.

behind patch panel

Should you change the actual area solar panel more than, you will see the strike lower prevent. A person strikes person cables to the prevent utilizing an effect strike device.

How a person set up the actual cables is essential. The actual cables adhere to a particular colour design, as well as you have to adhere to this particular to be able to help to make cable connections in between products. The actual design depends upon the actual kinds of prevent you are utilizing as well as the kind of cable you are pounding to the prevent.
      

Each cable or set of wires corresponds to some outlet about the entrance from the fiber panel. Should you content label every outlet using what it is attached to, you can inform instantly exactly what all of your own system products tend to be attached to, as well as it will likewise end up being easier to alter the actual cable connections.

The overall type with regard to marking the actual sockets in your fiber panel (as Black Box Patch Panel )is by using the area quantity then the actual coat or even setting quantity.

Conclusion

Now I work for FS.COM, maybe some have already known it if you watched my article, as usual, if there are some related products needed, welcome to have a visit, there is good news that FS SFP transceivers or patch panels and CWDM/DWDM MUX/DEMUX are in the lowest price of the history of Fiberstore. Do a nice chance and take actions for it.

Related Articles:
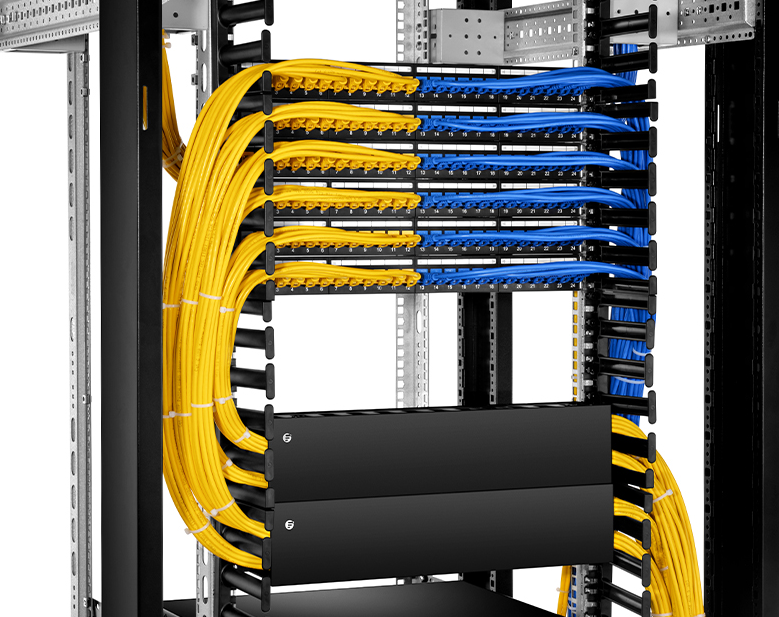
Best Patch Panel Cable Management Techniques
How to Install Patch Panel and Switch?