
Buying the Ethernet cable in stores is probably a common way for average people. However, have you ever met the problem that the cable length is too long or too short? It is so difficult to find the most appropriate cable length at ordinary stores for your network. Especially when the cable is too long, the extra length may end up becoming a mess at your place. In order to solve this issue, why not DIY Ethernet Cable? You can create your desired length and the procedures are fairly simple. This post will guide you to make a DIY Ethernet cable.
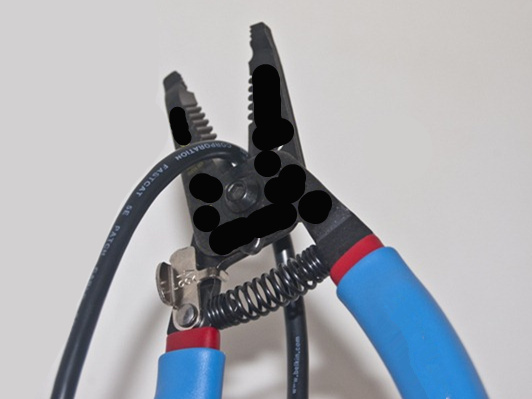
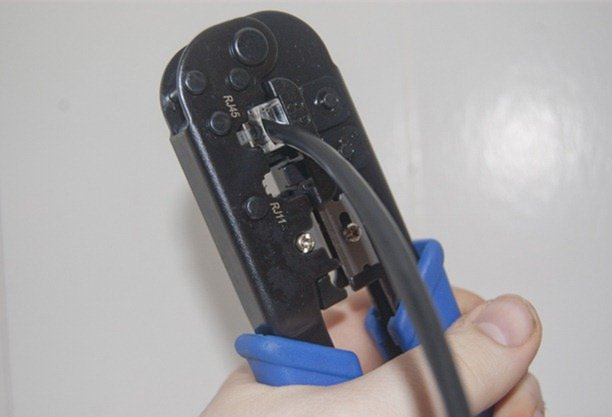
Before you get started, there are some necessary tools and materials needed during the procedure. Wire cutter or wire stripper is used for the task of cutting and stripping wires. RJ45 cable crimping tool can make your cable’s data plug a permanent part of your new cable. RJ45 data plugs are important materials which can be found at many cable stores. Some plugs are labeled specifically Cat 6 or Cat 5e, you can buy specific ones if your network needs one or the other. And you should prepare the bulk Cat 5, Cat 5e, Cat 6 or other Ethernet cables according to your needs. Sometimes, having a cable tester is better since it will save time and prevent headaches down the line when you have a problem with a cable or connection.
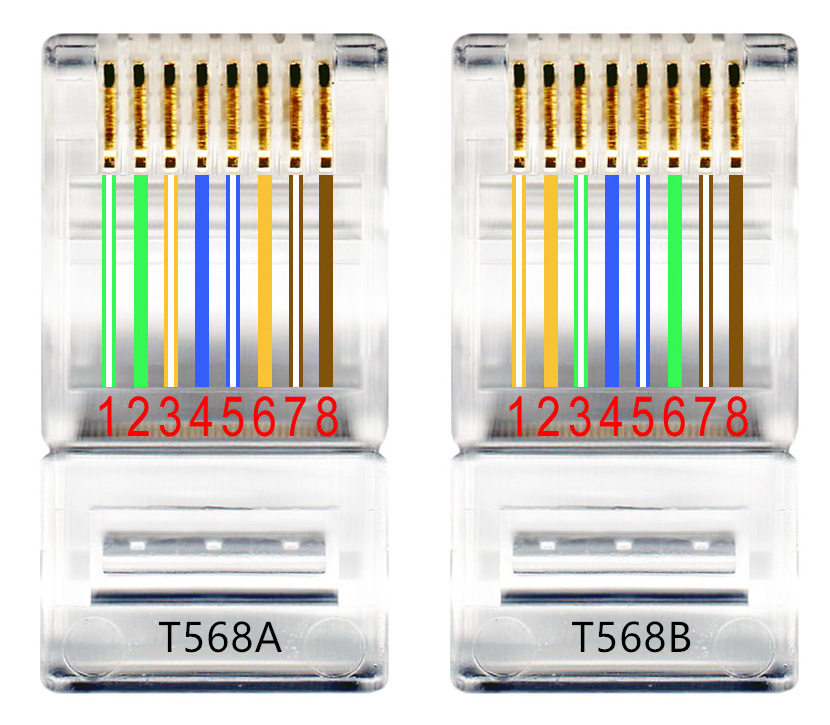
Ethernet cables have several standard wiring schemes. T568A and T568B are the common wiring schemes which define the order of the individual wires and pin-outs for eight-pin modular connectors and jacks. If the cable is used for home-networking connections, T568B wiring scheme is recommended. T568A wiring scheme may be employed for the preexisting residential network wiring or other similar projects. The following figure presents the different wiring orders of T568A and T568B.
After all the preparations, now you are ready to make your own Ethernet cable. Follow these DIY Ethernet cable steps and you will soon have your first self-made cable.
- Step 1, measure the cable to the proper length you want. And don’t forget to add an inch or two because you may lose a bit of cable during the process. Then use the tool to cut down the cable.
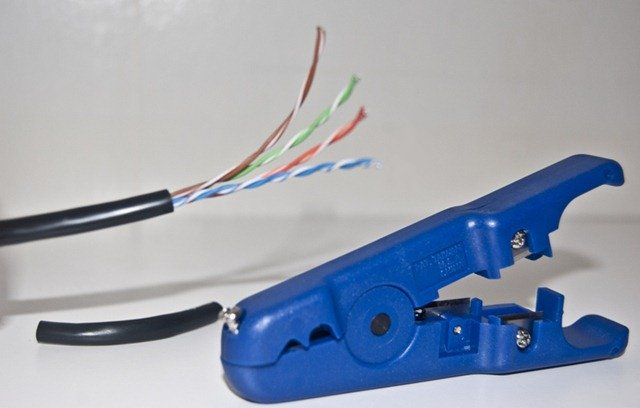
- Step 2, remove the outer jacket of the cable. A good way to do so is to cut lengthwise with snips or a knife along the side of the cable, away from yourself, about an inch toward the open end. Also leave an inch to an inch and a half if you are green hand.
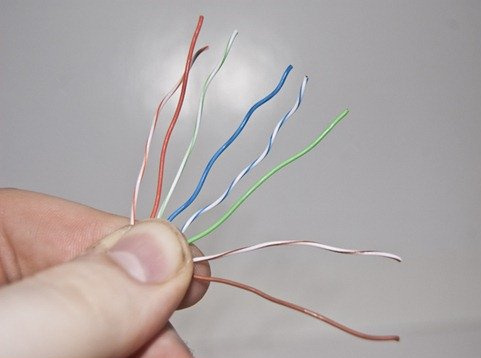
- Step 3, untwist and straighten the wires, then arrange the wires into the desired scheme order.
- Step 4, once your wires are in the correct order, trim the excess away. Only leave slightly less wire to be fit inside the RJ45 clip. And hold the wires in place with your fingers and insert them all at once into the data plug.
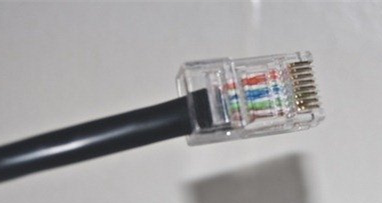
- Step 5, place your data plug into your crimping tool and give it a firm squeeze. And you just finally complete your Ethernet cable.
If condition permits, using the cable tester to test the Ethernet cable before installation is recommended. Getting this new skill, you will no more worry about the cable length, you can make them as long or as short as you want. Enjoy using your DIY Ethernet cable!
Related Article:
RJ45 Cat5e cable, How to Crimp It?
How to Wire Cat5e Ethernet Cable